
How To Make Cold Brew Coffee At Home
Cold brew coffee is not new. It has been around for many years, and although its real origin is still unknown, there are already a lot of coffee companies or shops that have created their own version. If you remember from our previous post – Coffee Trends for 2017 – cold brew was rightfully included in the list. As many coffee experts and enthusiasts have predicted, it has become mainstream for all the good reasons!
Cold brew is not your usual iced coffee. Although the process is quite easy, it can get complicated because it involves a much longer or slower brewing time, and the resulting taste depends on several factors. The good thing is that it’s not limited to coffee shops or skilled baristas only. You can make your own cold brew coffee at home as long as you have the ingredients, and the tools.
Before learning how to make a DIY cold brew, take some time to know more about it first, and see if it is something you want to do.
Cold brew coffee is brewed with room temperature water or cold water for 12-24 hours.
You are free to choose how long you want to steep the coffee. The rule of thumb is that the longer you steep, the stronger and more flavorful the concentrate will be. With cold brew, coffee is not subjected to any type of heat at all. The water temperature impacts the extraction rate which is why cold brew takes a much longer time to steep.
Cold brew usually has more caffeine content.
Generally, cold brew is more caffeinated than a hot-brewed coffee. It is said to have 67% less acidity, but it also depends on so many factors such as the water temperature, ratio of grounds to water, brewing time, type of coffee beans, as well as its grind size.
Although not a guarantee that it’s always effective, it has been offered to people who have sensitive stomach or acid reflux. It may have worked for some people but it’s also not true for all cold brews. Since there are no heating elements involved during the cold brew process, the oils that contain acid in the coffee beans aren’t extracted as much as it is when the coffee is brewed hot.
If you badly need caffeine but find it hard to drink hot brew, then perhaps you can give cold brew a try to see if it fits your need.

Cold brew’s flavor profile depends on the brewing method.
As to whether it tastes better than hot brew or not is a matter of personal opinion. The general opinion of the drinking public is that cold brew tastes smoother and sweeter because of lower extraction rate. You may also hear others say that it’s dull, dead, and flat. But it is also important to note that the flavors of your cold brew depend on how you brew it.
There are two basic or common methods to cold brew, and each has its own impact to the resulting flavor.
Immersion Method
With immersion method, you just need to combine water and course coffee grounds in a container or a jar, let it sit for 12 up to 24 hours, whichever you please. Once time’s up, you can start straining the grounds. Easy peasy, right?
Because it’s simple, a lot of coffee enthusiasts prefer the immersion process. Just set it, then forget it. Also, you don’t need fancy tools or materials for this process. So how’s the flavor? The immersion method gives you a balanced flavor, which means that it isn’t too bitter or acidic. It also produces a full-bodied flavor and great mouth feel.
Since the method saturates the coffee grounds for a long period of time, the result is a smooth and low acidity coffee with lower flavor notes. Just a note – if you’re looking for brighter notes, and more pleasant coffee flavor, the immersion method is not for you.
Ice Drip Method
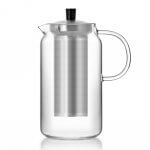
This method requires special equipment which is an ice drip cold brew tower found oftentimes in coffee shops. Cold water just drips into the coffee and the grounds absorb it. The coffee then drips into a jar or container underneath. It’s pretty much like making a pour-over coffee but this one needs an equipment since you have to keep the drip going for the entire day or up to 24 hours as desired.
With the drip method, you get a wide range of flavors – clean, floral, and fruity notes. It has higher acidity than the cold brew that’s made from immersion, but if you are willing to give that up for a cleaner cup of brews, then this one’s for you.
One thing that might make this challenging for you is the equipment especially if you plan to do it at home. You may need to have your own dripper, or build one yourself. Also, if you are fond of making large batches, it can be time-consuming because you can only generate a small batch of cold brew at one time.
Save your fresh coffee beans for hot-brewed coffee.
Yes, you read that right! With cold brew, a lot of the solubles from the beans do not get extracted so there’s really no need to whip your fresh coffee beans at all. Your two-week old beans can still produce sweet and quality cold brew. Don’t get too far out though! Coffee beans that have been lying around for months or so won’t give you good cold brew anymore.
Also, cold brew uses course coffee grounds because the steeping process lasts longer. If the grounds are too fine, then over-extraction may occur which will result to bitter-tasting coffee.

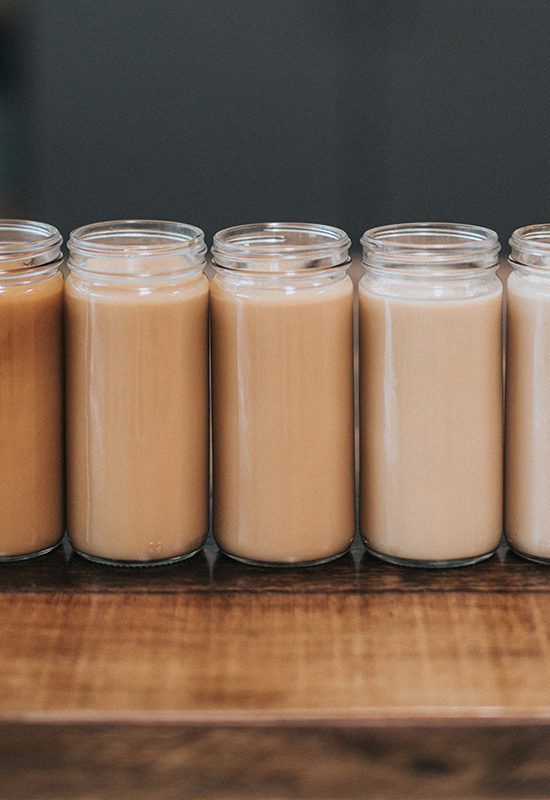
Basic formula for DIY cold brew
Cold brew can be expensive in coffee shops so if you want to make your own, you can certainly do so. You can follow this basic formula: 1 pound of ground beans to one gallon of water. You can even reduce it to a quarter pound beans to 4 cups of water if you like.
If you just want to make your own at home, here are the basic steps you can follow for the immersion method.
1. Put the course ground coffee beans in the jar or container, add cold or room temperature water, and then stir. Some people go against stirring because it oxidizes the coffee. They just let the coffee grounds absorb the water. Other people tried stirring, and didn’t have complaints.
2. Stir the mixture properly using a wooden spoon until it looks like mud. Again, you can skip this if you don’t feel like stirring.
3. Let the mixture steep for 12-24 hours. It’s up to you how long you want it.
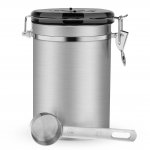
4. Once done with steeping, line a sieve with cheesecloth or paper towel, and strain the coffee grounds. Have another jar or container ready for your brew. Just wait for 1-2 minutes to complete.
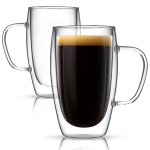
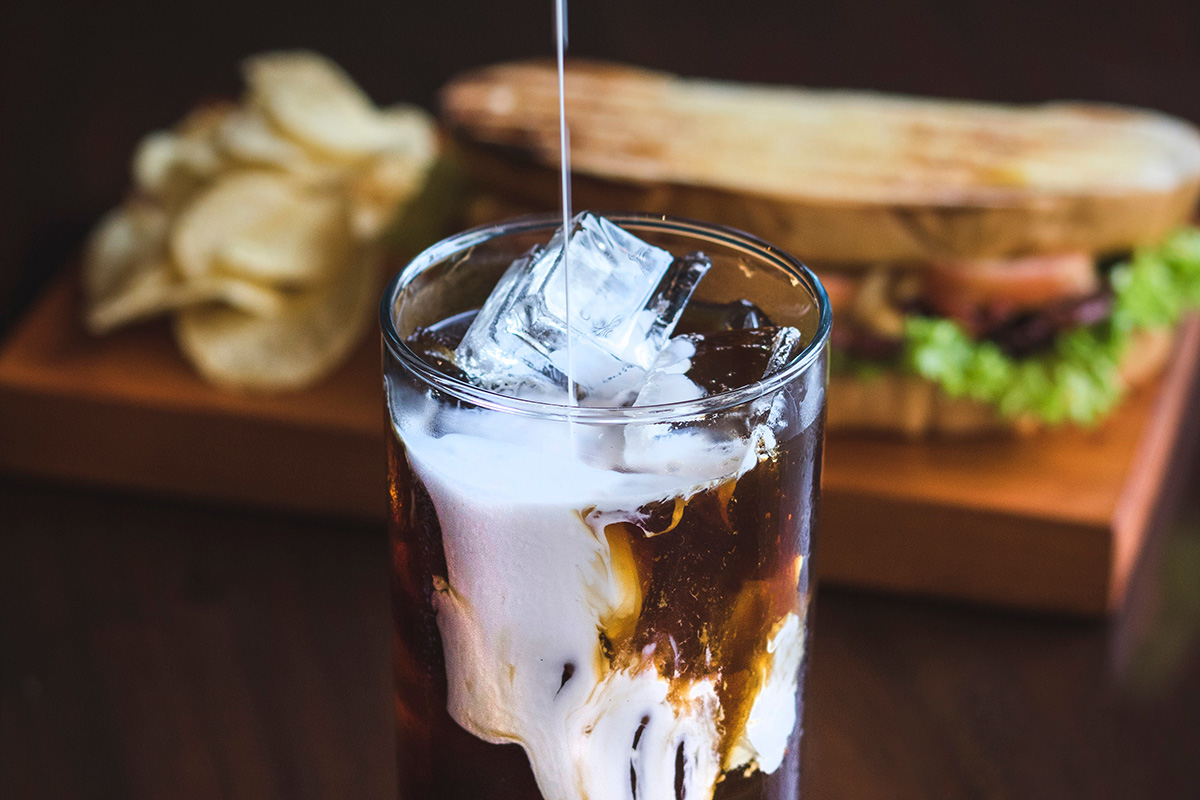
5. Discard the coffee grounds and keep your coffee concentrate – a.k.a. cold brew – in the fridge, or pour right away to a glass. You can dilute it with water if you want to mellow down the strong flavor. Use one part brew, one part water.
You can even add milk, cream, or sweetener to counter the bitter flavor. The coffee concentrate can be kept in the fridge for up to two weeks.
Here’s a video of the immersion method from The Protein Chef. In this case, you will see that the coffee grounds were strained twice.
So, you ready now to make your own cold brew?